Editing Your Graphics.
Graphics that we use in projects will almost always need to be edited in some way.
This is a critical step that’s frequently overlooked, and poorly edited images can significantly diminish the overall quality of your content.
There will be times when you'll need to engage in creative editing, such as combining multiple images into a single graphic, adding text to visuals, removing backgrounds, or applying filters and special effects — just to name a few.
But even when creative editing is not required and you’re working with a ready-to-use image, there are still some absolutely essential editing steps that must be done:
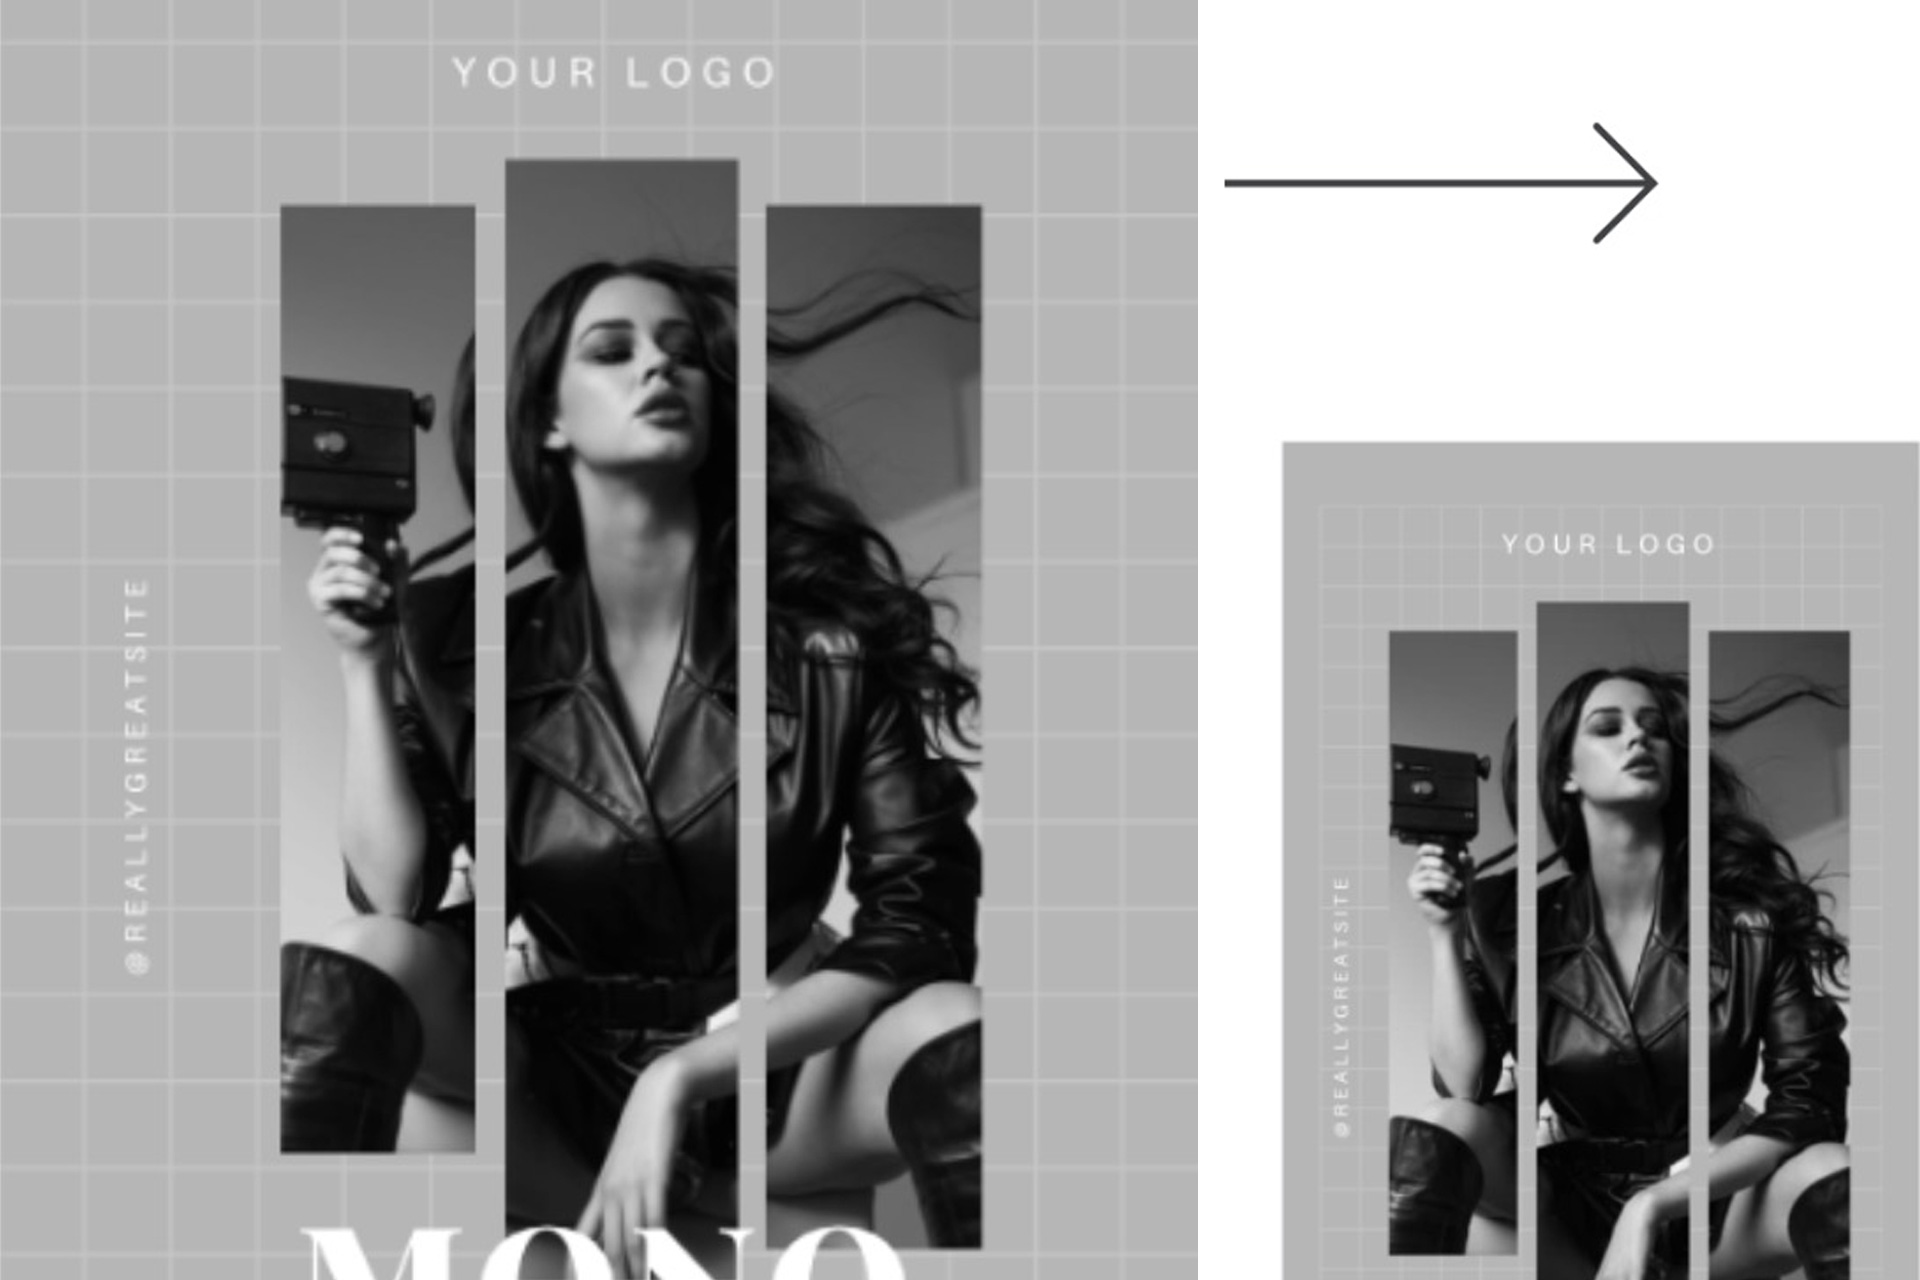
CROPPING:
Whether you are using an image for online or printed content, there is always a specific size and shape that the image will be shown at. For example, if you are creating an Instagram Post the image will be presented exactly square. If you upload an image that is not square, it will be cropped into a square and this will more than likely not look good at all!
This is a common issue that I see often, and it's a shame because it really makes the content look very amateurish and that is not what we want.
PIXEL DIMENSIONS, RESOLUTION & FILE SIZE:
The number of pixels, or resolution, of the graphic is critical. If you use an image for print that is not high enough resolution, it will look blurry. At the same time, always remember that the higher the resolution of an image the larger the file size will be. When you are adding images to a website, file size is always important as the larger the file size of an image, the more slowly it will load, and that can make the website clunky.
So whether we are working on print or web assets, we always want to be using the correct resolution... not too low for print and not too high for web.
COMPRESSION & FILE TYPE:
Also essential is file type. Not all file types can be used in all environments.
For example, in most cases. images shown on websites can only be .JPG, .JPEG .PNG or .GIF file types. These are image formats designed for online delivery. Typically images are created or edited in a program like Photoshop or Canva, and then exported out as one of these formats so that they can be viewed online.
These formats perform various methods of compression to make the files as small as possible without sacrificing quality, because file size is always important when preparing images for online viewing. Images that are larger in file size than they need to be will slow down the website.
The type of file you choose is really important – here are some basic tips.
If you need to know more please reach out as I can provide a more detailed course to learn from or book you in for a lesson.
File types and compression – some essential things to know:
- JPG/JPEG is the best to use for photographs or illustrations where there are many colours such as gradients. This is because the JPG compression method doesn't reduce the number of colours. With JPG compression your image can become a fraction of the size of the original with no noticeable difference in quality.
- With JPG you want to have the most compression while still maintaining quality. For many images, a medium level of compression is good enough – it will look the same as the original but will be a fraction of the original size.
- Every time you save a JPG it will recompress, so you should not to keep editing the same file and saving it over and over again. Saving as a JPG should generally be the final step after you have done your editing in a program like Photoshop or Canva.
- JPG files do not allow transparency – if there are transparent areas in the graphic you are creating, when you save it as a JPG the transparent areas will become white.
- With PNG there are 2 types, PNG-8 and PNG-24.
- PNG-24 is like JPG in that it doesn't reduce colours – so it is also excellent for photographs BUT it is a much, much larger file size than JPG for the same visual result. Therefore it should not be used for images when having a small file size is important, as is the case with websites. This is a really common mistake I see all the time.
 The PNG-24 file format has a special feature. Unlike JPGs, with PNGs you can have transparency. So this is the only time to use a PNG for an image instead of JPG. An example of where transparency would be needed is when you have a logo or an image that is not rectangular on a website and that image is sitting on top of a coloured background. This needs to be transparent or else there will be an unwanted white box around the logo.
- GIF and PNG-8 are used less often, but they both compress based on the number of colours.
- When you export to GIF or PNG-8 a colour palette is made for that image with a maximum of 256 colours (which is why it generally won't be suitable for photographs as reducing colours in a photo will look distorted). If you reduce the colours even lower than 256 the file size will be reduced accordingly.
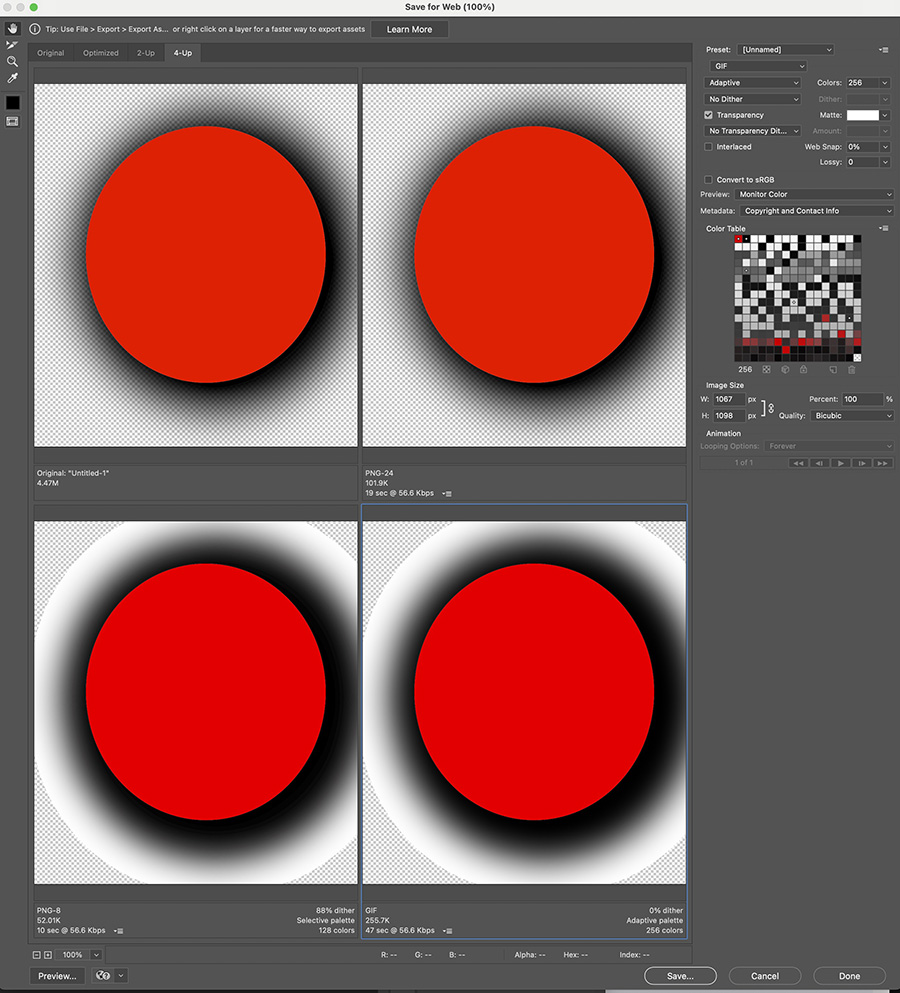
- Therefore, GIF and PNG-8 can be great choices for logos and vector illustrations that are geometric and have only a few colours. They can have transparency but the transparency is either on or off, it won't be a soft blend to transparency. So for example it would not be suitable for a drop shadow. This image shows this clearly. The top left is the original, and the checkbox pattern is the transparent area of the image. The top right is previewing what a PNG-24 will look like, and it is a perfect match. The bottom 2 are PNG-8 and GIF, and in both cases there is a white border around the drop shadow before the transparent area begins.
SO, HOW CAN YOU ACHIEVE THESE ESSENTIAL EDITING STEPS?
You need an image editing tool.
Let's review 3 options.
 ADOBE PHOTOSHOP (PRO)
As a designer, my tool of choice for image editing is Adobe Photoshop, because I have used it for 3 decades and I can create literally anything with it.
I love Photoshop, and I love to teach people how to use it.
The whole Adobe suite of graphics are brilliant, you have probably also heard of Adobe InDesign, Adobe Illustrator. I use them all and can teach them all. Some Adobe lessons & resources will be added here soon.
So if you want to learn Photoshop to edit your images, I highly recommend it.. But there is a steep learning curve to master Photoshop, and also a higher price point than other software, so for some people this is not a suitable place to start.
 GIMP (FREE)
There is a software application called GIMP (GNU Manipulation Program) that not many people know about. It is similar to Photoshop, but it is open-source software so it is free to use. So this can be a great option if you want to learn Photoshop but have not done so yet based on price.
But, as it is similar to Photoshop in terms of what it can do, it is also a steep learning curve and therefore may not be suitable unless you are very keen to spend some time learning.
CANVA (FREE OR PRO)
That brings us to Canva!
You have probably heard of Canva... A lot of my clients use Canva, and it is often the perfect place to start for beginners.
What’s amazing about it is that you can start completely free, and once you’re guided through the basics, it’s incredibly easy to use. At the same time, it offers advanced features previously only available in tools like Photoshop. These include removing backgrounds, extending image content to fit specific crop sizes, adding filters, and applying special effects etc. Since this is Canva and designed with entry-level users in mind, it allows you to perform these tasks quickly and effortlessly.
This Canva Crash Course is the perfect way to master Canva. Whether you're brand new and have never even opened the Canva website or an experienced user looking to explore advanced features, this course has you covered!
Sharing useful tips, links & downloadable resources to help you with your branding, marketing and graphics creation, and teaching the secrets of how to create income online.
If you need help with your next project, no matter how big or small, please connect with me.
I can also be available to deliver customised training in-person or online.